Stripe Setup
Complete guide for configuring Stripe with SvelteBolt to handle payments and subscriptions.
Create Stripe Account
- Go to stripe.com
- Click Start now
- Sign up with your email
- Complete account verification (required for live payments)
- For development, you can skip verification and use test mode
Get API Keys
- In your Stripe dashboard, ensure you're in Test mode (toggle in top-left)
- Go to Developers → API Keys
- Copy these values to your
.envfile:PUBLIC_STRIPE_KEY=pk_test_51ABC123...
STRIPE_SECRET_KEY=sk_test_51ABC123...
Create Products and Prices
SvelteBolt includes two subscription plans: Plus and Pro.
You are free to customize these plans or add more as needed.
Create Plus Plan
- Go to Products in Stripe dashboard
- Click + Add product
- Fill in details:
- Name:
Plus - Description:
Plus subscription plan
- Name:
- Under Pricing:
- Price:
$9.99(or your preferred amount) - Billing period:
Monthly - Currency:
USD
- Price:
- Click Save product
- Copy the Price ID (starts with
price_) for later
Create Pro Plan
- Create another product named
Pro - Set pricing (e.g.,
$19.99monthly) - Copy the Price ID
Add Annual Options (Optional)
For each product, add yearly pricing:
- Click on the product
- Click + Add another price
- Set Billing period to
Yearly - Apply discount (e.g., 20% off monthly rate)
SvelteBolt automatically gets your products and prices from Stripe, so you don't need to hardcode them in your app. Whenever you create or update products/prices in Stripe, they will be fetched dynamically.
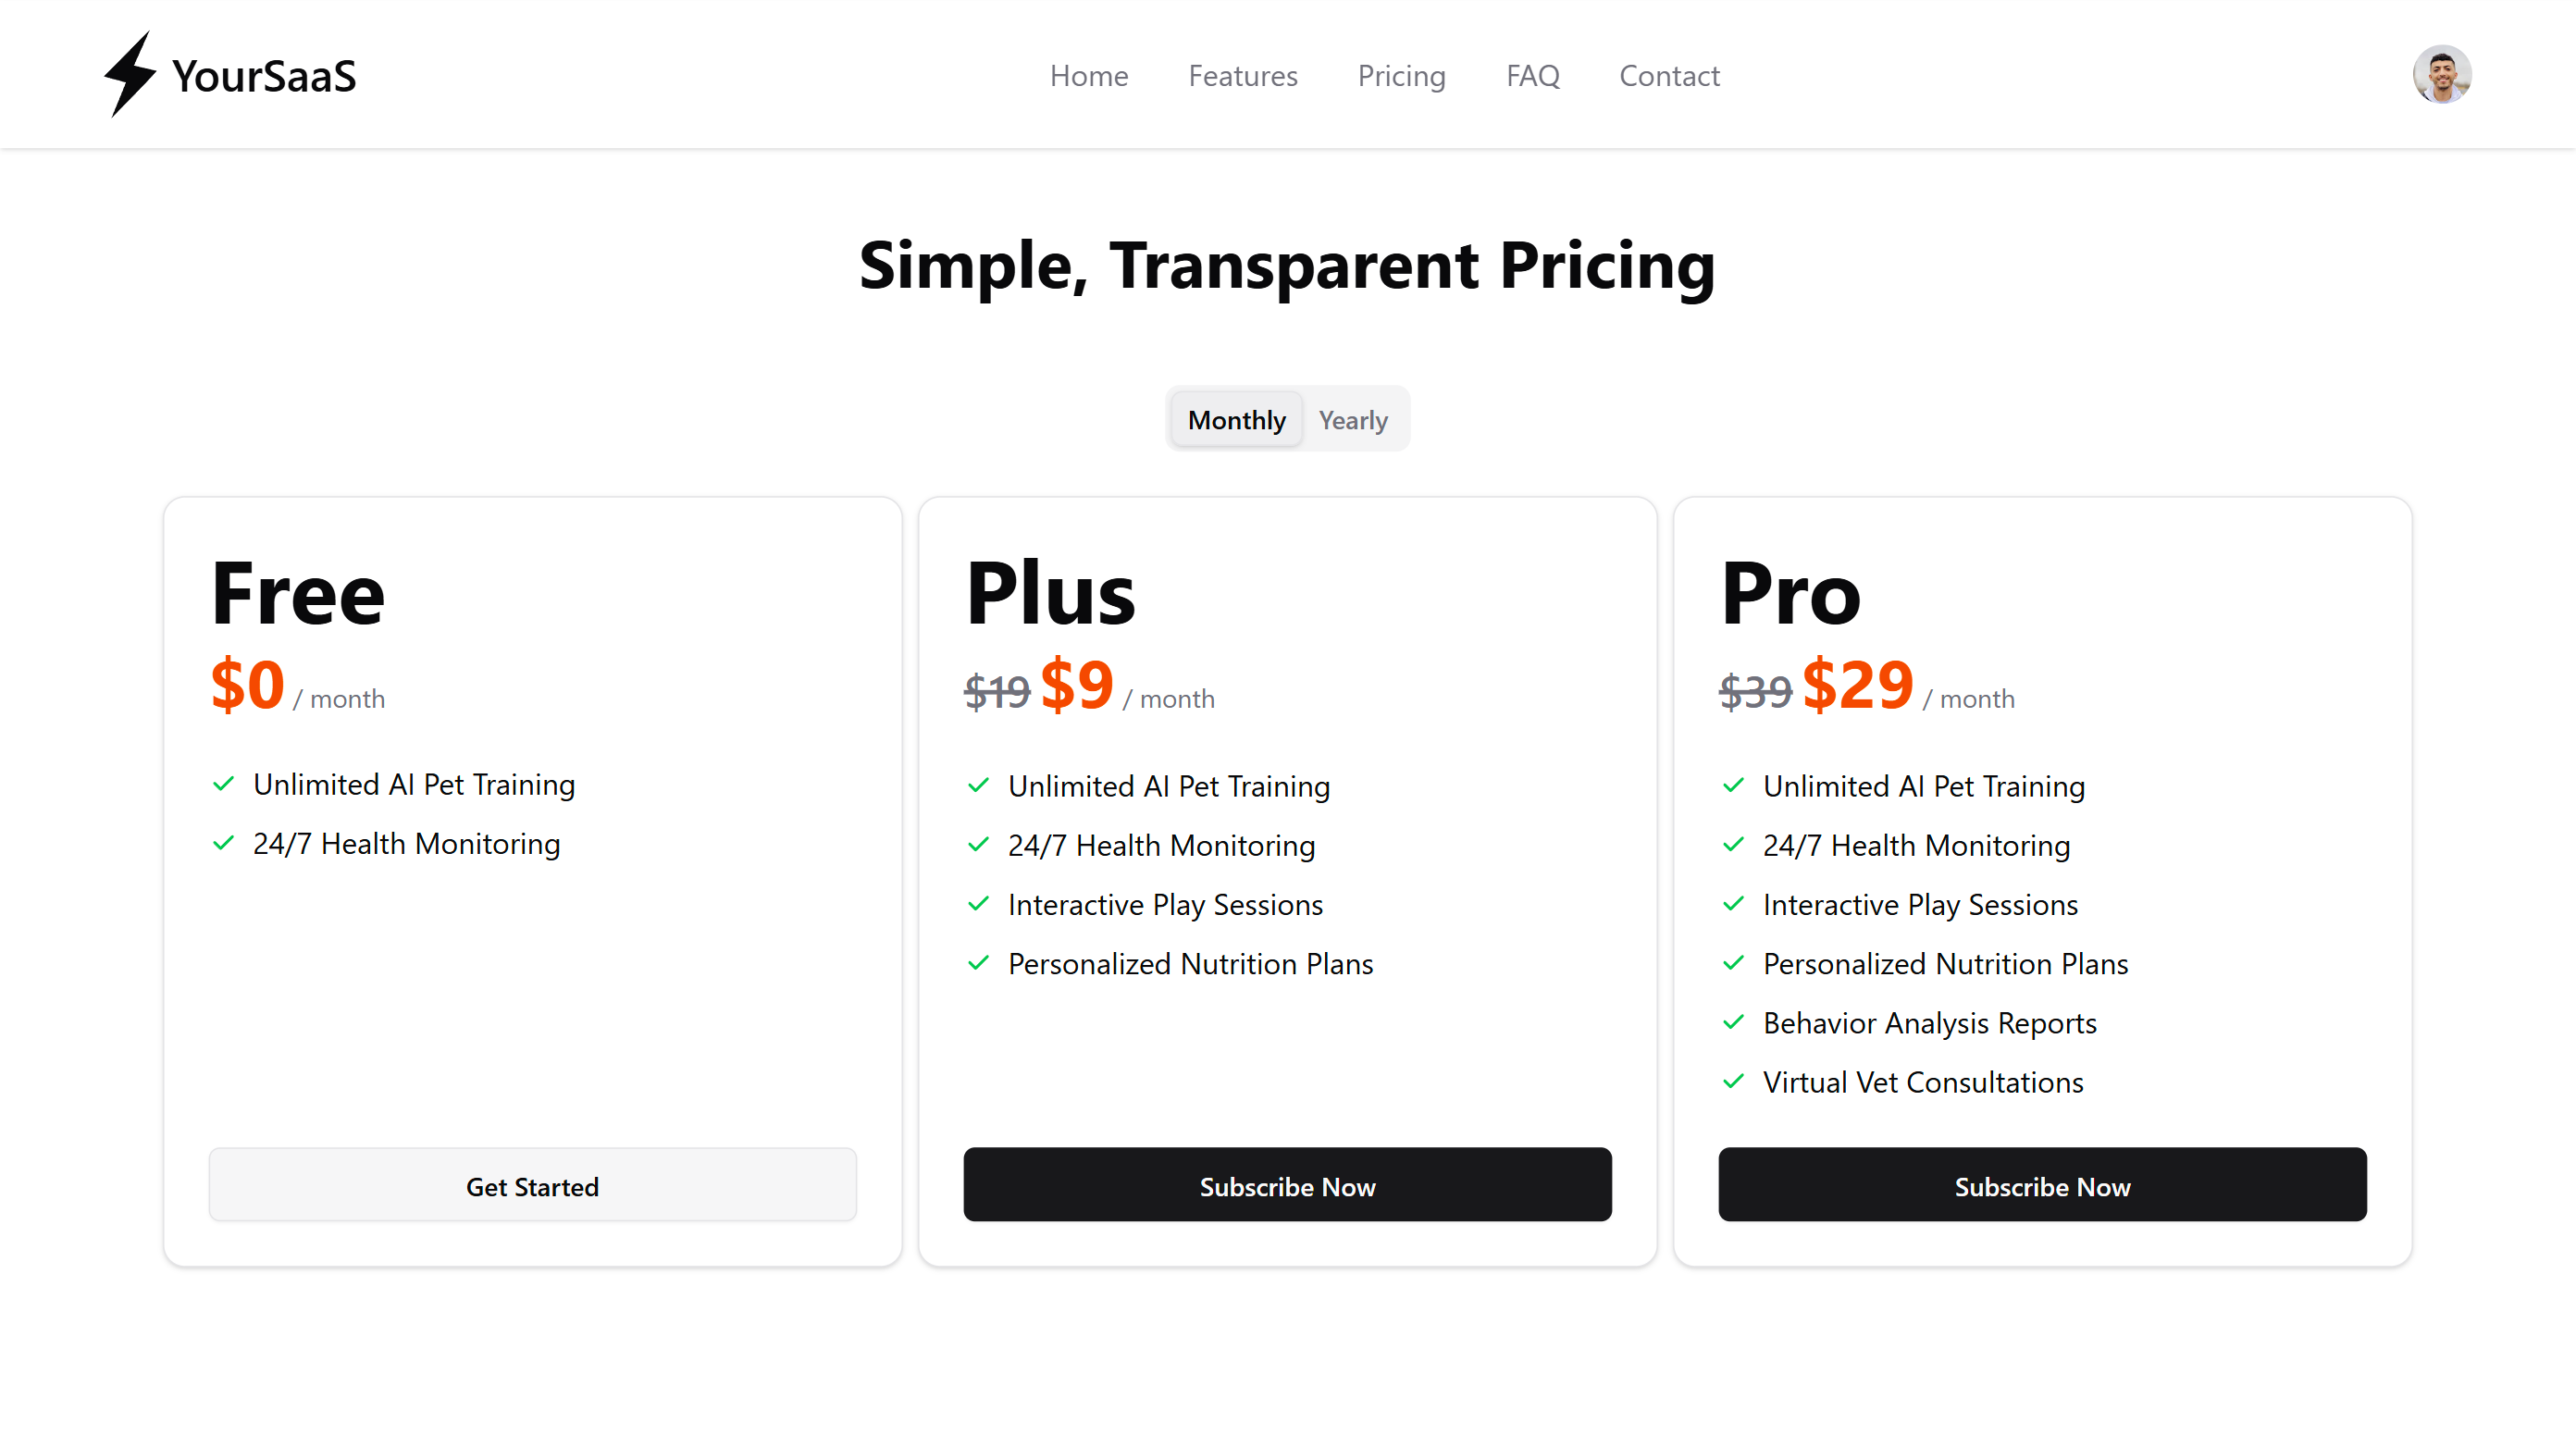
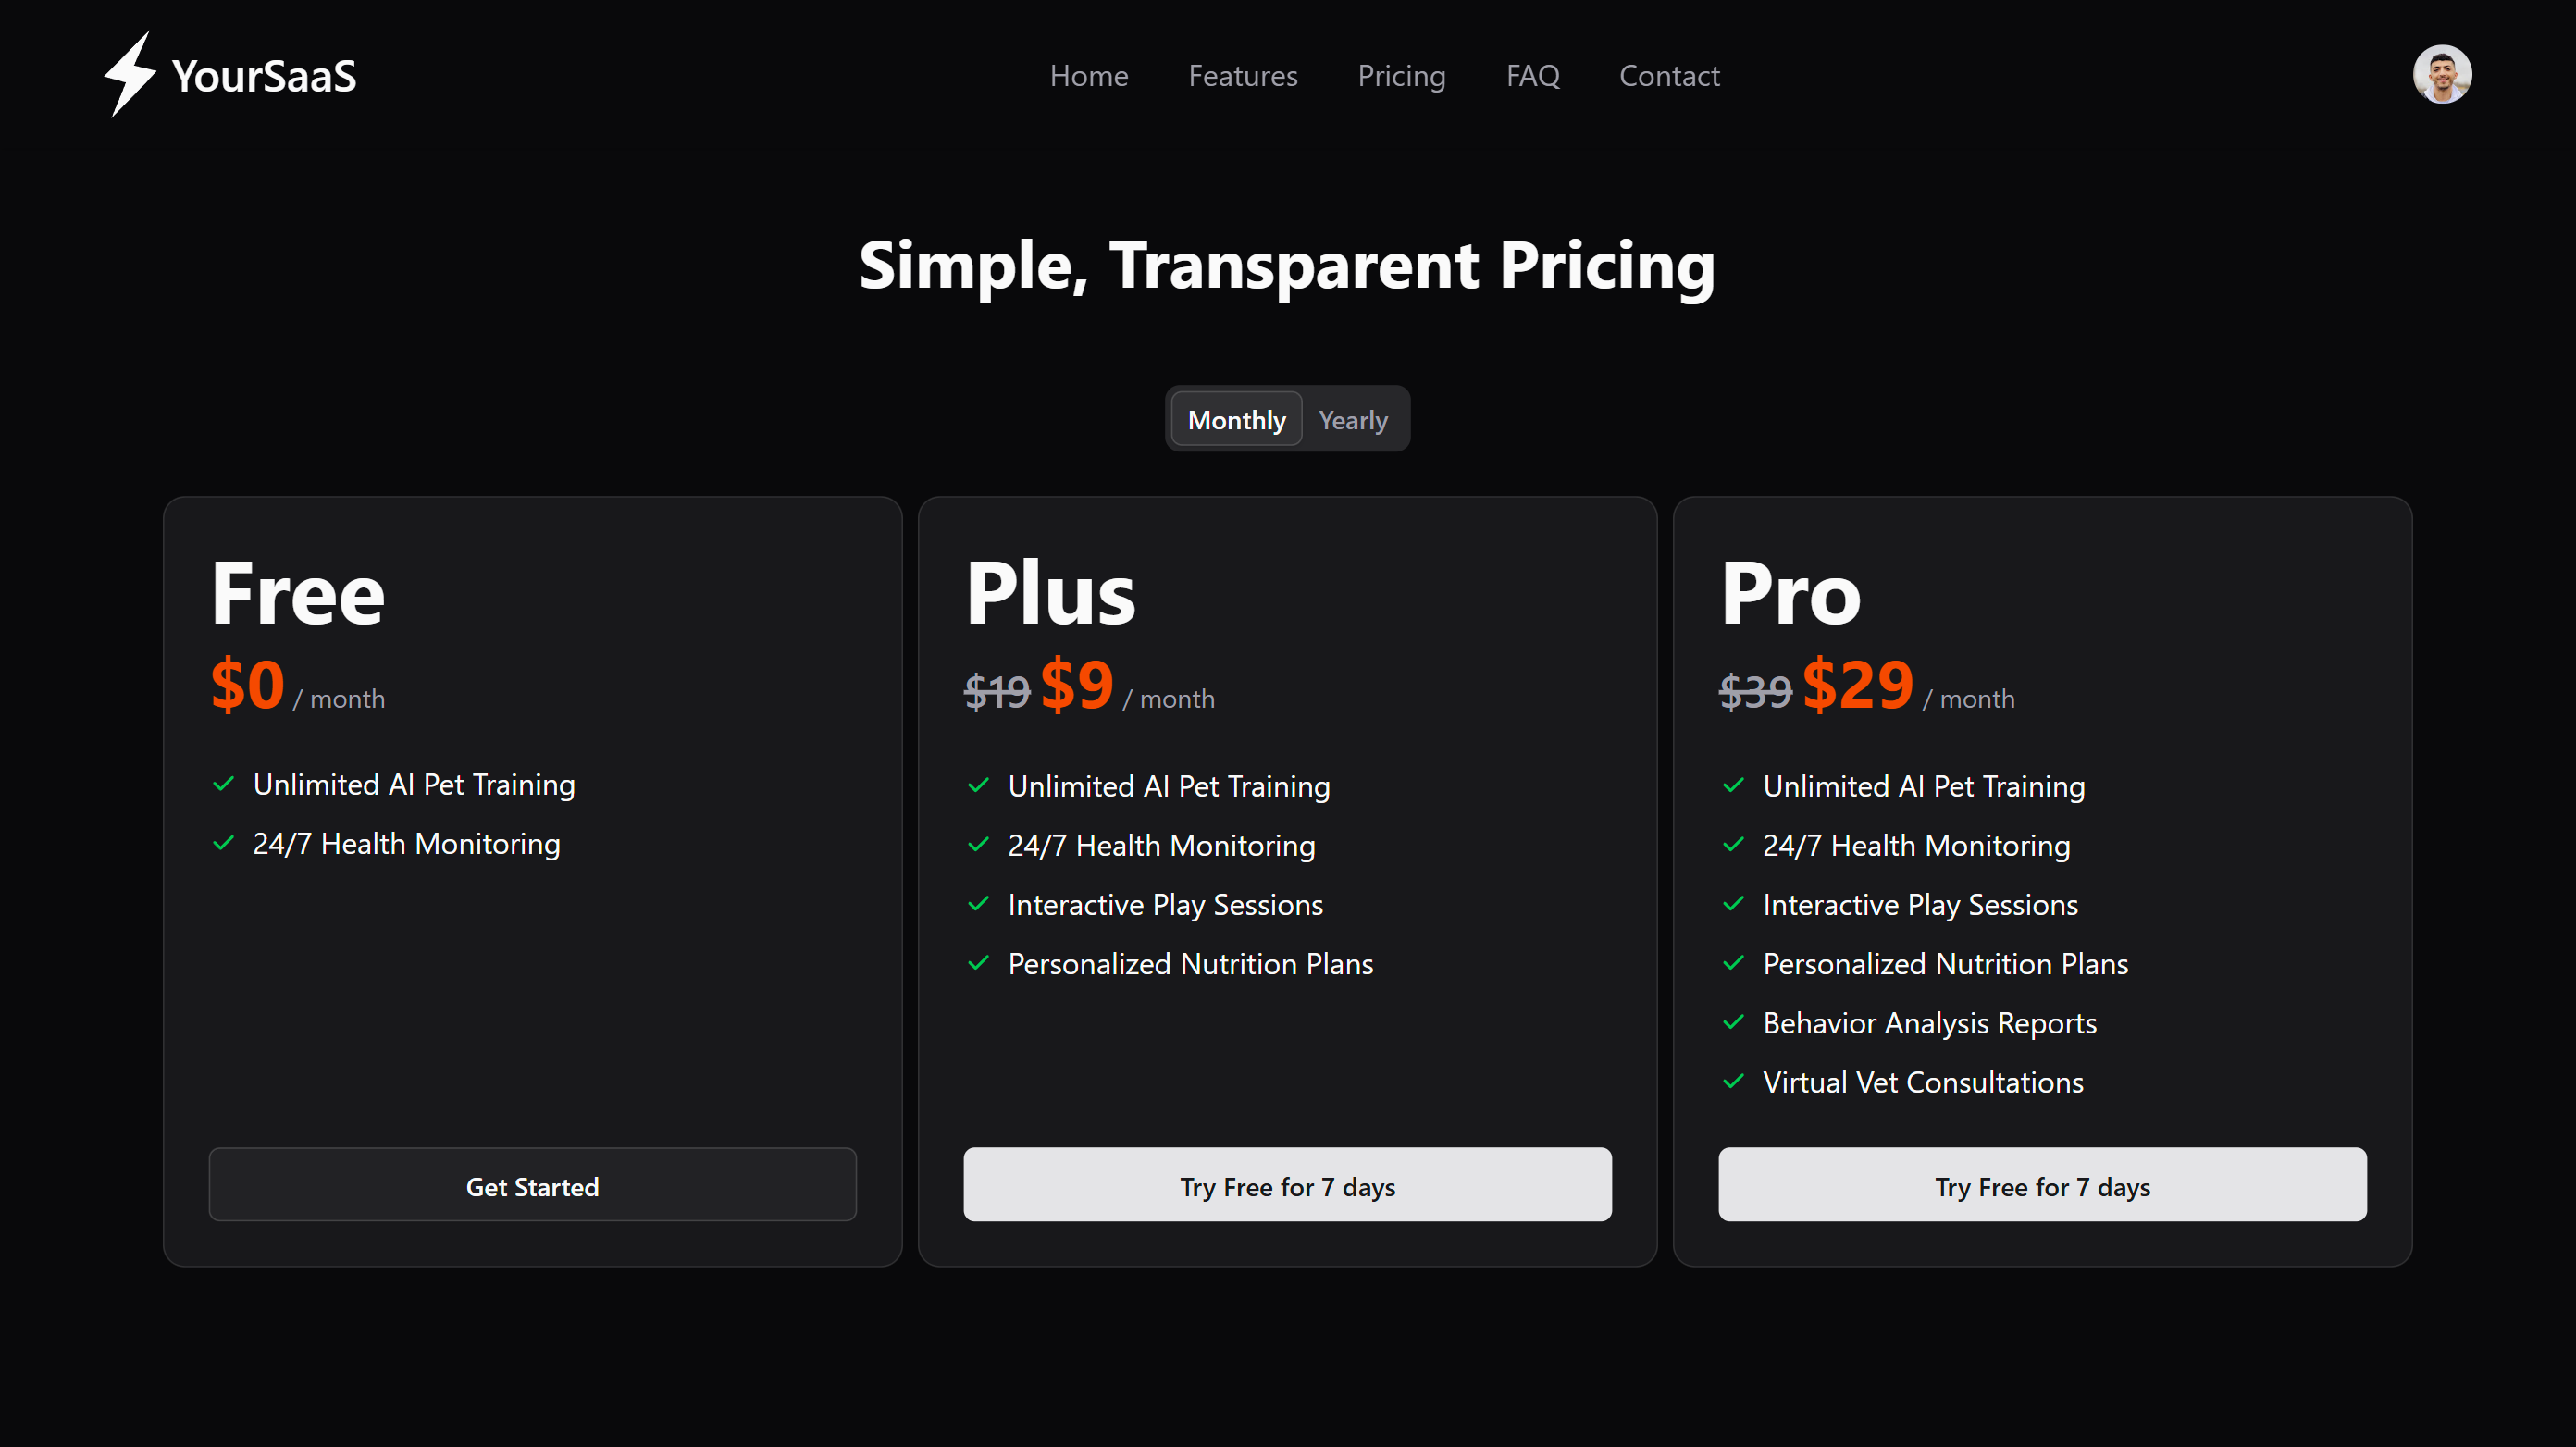
Pricing Component Preview
Once your Stripe products and prices are configured, they will automatically appear in your SvelteBolt pricing component:
Light Mode Pricing
Dark Mode Pricing

The pricing component will automatically:
- Display your Free tier alongside your Stripe plans
- Show monthly and yearly billing options
- Handle the complete checkout flow
- Update based on your Stripe configuration
Configure Webhooks
Webhooks are essential to receive live events from Stripe as they happen. They allow your application to respond to events like subscription creation, updates, and payment success/failure and keep your app in sync with Stripe.
Create Webhook Endpoint
- Go to Developers → Webhooks
- Click + Add endpoint
- Set Endpoint URL:
- Development:
https://dev.yourdomain.com/api/stripe/webhook - Production:
https://yourdomain.com/api/stripe/webhook
- Development:
- Select events to listen to:
customer.subscription.created
customer.subscription.updated
customer.subscription.deleted
invoice.payment_succeeded
invoice.payment_failed - Click Add endpoint
Get Webhook Secret
- Click on your newly created webhook
- Click Reveal signing secret
- Copy to your
.envfile:STRIPE_WEBHOOK_SECRET=whsec_ABC123...
Set Up Local Testing with Stripe CLI
For local development, use Stripe CLI to forward webhooks:
Install Stripe CLI
Follow the instructions at Stripe CLI Installation to install the Stripe CLI on your machine.
Forward Webhooks
-
Login to Stripe:
stripe login -
Forward webhooks to local server:
stripe listen --forward-to localhost:5173/api/stripe/webhook -
Copy the webhook signing secret from the CLI output to your
.env:STRIPE_WEBHOOK_SECRET=whsec_ABC123...
Test Payments
Test Credit Cards
Use Stripe's test card numbers:
| Card Number | Description |
|---|---|
4242424242424242 | Visa - Success |
4000000000000002 | Visa - Declined |
4000002500003155 | Visa - Requires authentication |
- Expiry: Any future date (e.g., 12/34)
- CVC: Any 3 digits (e.g., 123)
- ZIP: Any 5 digits (e.g., 12345)
Testing Flow
- Start your SvelteBolt development server
- Navigate to the pricing section
- Click on a subscription plan
- Use test card details
- Complete the checkout process
- Verify webhook events in Stripe dashboard
- Check subscription status in your app's dashboard
Customer Portal Configuration
Enable customers to manage their subscriptions:
- Go to Settings → Billing → Customer portal
- Enable Customer portal
- Configure allowed actions:
- ✅ Update payment methods
- ✅ Download invoices
- ✅ Cancel subscriptions
- ✅ Update billing information
- Set Default return URL:
https://yourdomain.com/dashboard/settings/billing
Production Setup
Switch to Live Mode
- Toggle to Live mode in Stripe dashboard
- Complete account verification
- Update your
.envwith live keys:PUBLIC_STRIPE_KEY=pk_live_51ABC123...
STRIPE_SECRET_KEY=sk_live_51ABC123... - Create new webhook for production URL
- Update
STRIPE_WEBHOOK_SECRETwith live webhook secret
Important Production Settings
- Enable 3D Secure for better fraud protection
- Set up tax collection if required
- Configure receipt emails
- Set up dispute monitoring
Free Trial Configuration
SvelteBolt includes built-in support for free trials. You can configure the trial period using the PUBLIC_TRIAL_PERIOD_DAYS environment variable.
How It Works
- When set to a positive number (e.g.,
7,14,30), new subscribers get that many days of free trial - When set to
0, the trial period is disabled and users are charged immediately - The trial period applies to all subscription plans (Plus and Pro)
- Users can cancel anytime during the trial without being charged
Configuration
Add this to your .env file:
# Trial Period Configuration
PUBLIC_TRIAL_PERIOD_DAYS=14  # 14-day free trial
# PUBLIC_TRIAL_PERIOD_DAYS=0  # Disable trial (immediate charge)
Trial Period Display
When a trial period is configured, the pricing component automatically shows the trial information:
What happens during trial:
- Stripe creates a subscription with a trial period
- No payment is collected initially
- Users get full access to premium features
- Automatic billing starts after trial ends
- Users receive email notifications before trial expiration
Environment Variables Summary
Your complete Stripe configuration in .env:
# Stripe Configuration
PUBLIC_STRIPE_KEY=pk_test_51ABC123DEF456GHI789...
STRIPE_SECRET_KEY=sk_test_51ABC123DEF456GHI789...
STRIPE_WEBHOOK_SECRET=whsec_ABC123DEF456...

# Trial Period (optional)
PUBLIC_TRIAL_PERIOD_DAYS=14  # Set to 0 to disable trials
Troubleshooting
Common Issues
❌ Webhook events not received:
- Verify webhook URL is accessible
- Check webhook secret matches
- Ensure correct events are selected
- Use
stripe listenfor local testing
❌ Payment failures:
- Check API keys are correct
- Verify you're in the right mode (test/live)
- Ensure products and prices are active
- Check browser console for errors
❌ Subscription not updating:
- Verify webhook endpoint is working
- Check webhook events include subscription updates
- Monitor webhook logs in Stripe dashboard
Testing Webhook Delivery
- Go to Developers → Webhooks
- Click on your webhook endpoint
- Check Recent deliveries
- Look for successful 200 responses
- If failing, check the error messages
Monitoring
Stripe Dashboard Sections to Monitor:
- Payments - Transaction history
- Subscriptions - Active subscriptions
- Customers - Customer management
- Developers → Logs - API call logs
- Developers → Events - Webhook events
Next Steps
- Test the complete payment flow
- Set up Environment Variables
- Review the Project Structure
- Deploy to production with live Stripe keys